
In Memoriam
Pat O’Brien, lute and guitar guru, was also a charismatic influence on the revival of historical harps. In 1986 he contributed to the pioneering Early Harp conference in Basel, and over the next few years taught at the influential Bremen Harps & Lutes events. He was a founder member of The Harp Consort, appearing in many concerts and on the CDs Luz y Norte, Carolan’s Harp and Vivaldi’s Four Seasons. With the New York Continuo Collective he facilitated a creative dialogue between harpists, lutenists and singers. He also taught at the Julliard School.
Most of today’s leading early harpists and lutenists benefitted from Pat’s insightful and authoritative teaching. Many of us are privileged to have known him as a friend, a larger-than-life character whose powerful presence we sadly miss, even whilst the inspiration of his work lives on.
Pat thought a lot about Historical harp technique, and he and I discussed the subject at length over many years. This article owes much to his ideas, and is dedicated to his memory.

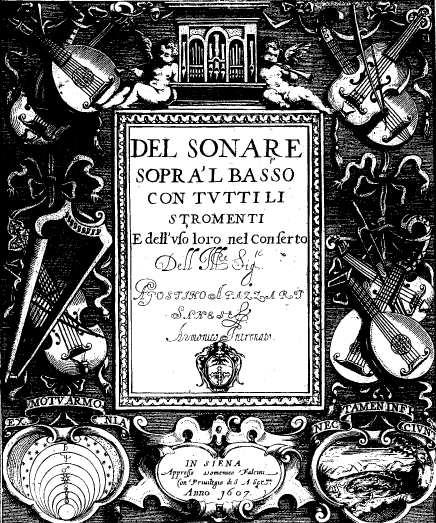
INTRODUCTION TO ITALIAN BAROQUE HARP
Part I: History
This instrument is called in Italian arpa doppia, because it is very large [twice the size of the renaissance ‘gothic’ harps that preceded it], and because it has a low bass compass [as we also say ‘double-bass’, ‘double-bassoon’ for instruments with low bass notes]. It has more than one row of strings, providing strings for chromatic and diatonic notes.

Jacopo Peri with a renaissance harp (1589)

The Barberini harp
(17th-century)
We see medium-size double-harps in Italy, with two rows of strings, around 1580. The ‘Este’ harp is typical, with the shape of a gothic harp, but rather larger size, and with two rows of strings.

In the early 1600s, we see much larger harps with three rows of strings [two diatonic rows, chromatics in the middle row]. These are still called arpa doppia, or sometimes arpa a tre ordini [with three rows].
We do not know the details of the transformation from medium-size & 2 rows to large-size & 3 rows. There is comparable situation with our lack of detailed knowledge of the similar transformation of the renaissance lute to the baroque theorbo, which took place around the same time.

The large 3-row harp was a highly successful design. It, was exported to France, Germany and England. It later interacted with Welsh harps to produce the Anglo-Welsh baroque triple harp [around 1700, more on Welsh harps here].
The primary function of the arpa doppia around 1600 was to accompany, in the new style of continuo. [More on continuo here.] The instrument is designed to play bass, with extreme low bass-notes easily available; and to play harmonies in the tenor/alto register. The playing position is optimised for this function.
In the painting, Allegory of Music (above), the very large Barberini harp is shown leaning forwards (in contrast to the modern position with the instrument leant backwards). I’ve tried the Barberini position, and I find it plausible. I sometimes use a less extreme version of this position, with the harp leaning forwards just a little: the harp will not fall, because your hands are resting on the soundboard. Most 17th-century paintings show that harp was positioned approximately upright [where it balances], with the player on a chair of normal height.
The player is thus rather low, with the harp high above. If you turn to look at the strings, you will be looking at the “tuning A” [eg A 460/440/415, whatever]. Without turning, your normal focus is on the strings corresponding to the range of the bass-clef – the normal range of baroque bass-lines.
It is easy to reach forward and down with the left hand, to play the extreme bass notes close to the soundboard. It is more difficult to reach up and back with the right hand to play the high treble. This is consistent with the main role of the instrument, to play continuo.
Of course, players did take advantage of the solo possibilities of the arpa doppia. Monteverdi and Trabaci write solos that dramatically exploit the entire compass from d” to GGG, 4½ octaves, sometimes in a single phrase. But the normal 17th-century soprano range remains within the C1 soprano clef [a third below treble clef].
In 18th-century instrumental music, composers often write an octave higher than this. Thus some German 18th-century harps, known as Davidsharfe, were medium-size with 2 rows [allowing easier access to the high notes]. Italianate triple harps were also played in Germany, and it is not known whether CPE Bach’s Sonata was intended for triple harp, single-action pedal harp, or perhaps even for 2 instruments (one plays the solo, the other realises the continuo). [You can read Mary Oleskiewicz’s article on CPE Bach’s sonatas here Mary Oleskiewicz on CPE Bach. See the first page of her edition here, and consult the complete edition here.]
The 18th-century Anglo-Welsh triple harp is very large, but has a different shape, with very long bass strings, but not extending above the player’s head and shoulders in the treble. Again, this allows easier access to the high notes. [More on Welsh triple harps here.]
Our Italian baroque harp, the 17th-century arpa doppia, is optimised for 17th-century music. It can play very chromatically, but within a narrow range of basic tonalities [a simple piece in a ‘bad’ key is very difficult]. The instrument is designed to play continuo accompaniments, and is also very suitable for 17th-century polyphonic music or for dramatic solos. This is precisely how it was used at the time: this is also the kind of published repertoire that survives.
Part II: Technique
The modern binary of Technique/Interpretation is not the best way to consider how to play Early Music. Many teaching books from the baroque period [most famously the three great treatises: Quantz for flute (1752) here, CPE Bach for keyboard (1753 & 1762) here, , Leopold Mozart for violin (1787) here] share a common structure with three or four main sections.

Much of what we would now describe as elementary technique is dealt with very quickly. Hold the instrument like this, play in time (read more about rhythm for Early Music here), and play in tune (for the period of the arpa doppia the default temperament is quarter-comma meantone).
After this short introduction, the first subject to be dealt with at length is Articulation. This means tonguing-syllables for wind instruments, bowing for violin, and fingering for keyboards and harps. This section therefore links phrasing (especially short-term phrasing) to the basic technique of each instrument.
The second section teaches how to play ornaments (technique), and how to use them (intepretation). Often, certain ornaments are required for the sake of musical ‘grammar’, just as certain words require diacritical marks. What might seem to be a tiny mark, an optional extra, is an essential requirement if you ‘speak the language’ of a particular musical style.
The third section teaches Good Delivery. This is not quite the same as modern Interpretation. There is less emphasis on the performer’s Expression, or on translating the composition into some new form. Rather, the idea is to get the music across to the audience, clearly and effectively. The desired effect is muovere gli affetti to move [the audience’s] passions.
[Read more about How does it feel? A history of heaven, hearts and harps here.]
In this Introduction, I’ll follow the example of those historical teaching books, dealing quickly with the basic playing position, and spending more time considering Articulation, i.e. how musical phrasing (in period style) connects to historical technique (fingering).
2.1 Position
Find the balance-point of the harp, and bring yourself towards the instrument. You will need to sit well forward on the chair. Put your right leg forward, alongside the instrument. Draw your left foot back, so you have easy access to the extreme basses, playing the strings close to the soundboard.
Keep some weight on your feet. You can test this, by seeing if you can stand up without first adjusting your position. Stand up and sit down a few times, until you have found a seated position that still has your feet firmly on the ground.

Charles II, seated in typical 17th century manner. Note that I have flipped this image horizontally, in order to show the right leg extended, as needed for baroque harp.
For those interested in radical authenticity, you could experiment with having the instrument leaning forwards, held from falling by your hands resting on the soundboard (as we see with the Barberini harp, above.
For anyone coming from modern harp, you might need to remind yourself frequently to re-set the harp upright, since you’ll be used to its leaning backwards.
Your nose will be around the “tuning-A” string. You can easily see the bass-clef register. You can easily reach the extreme low strings. Don’t worry about the high trebles, you won’t need them yet.
It might feel strange to have the instrument ‘so high’: don’t worry! You might find it difficult to focus your eyes on so many strings: don’t look!

You can watch the video here.

2.2 Hands – relaxed for delicate control
With the low-tension strings of an early harp, your fingers don’t need strength, as much as smooth relaxation and delicate control. Excess strength will tend to morph into unwanted tension in the hand. So it’s a useful exercise to re-calibrate the strength in your hands, especially if you are coming from higher-tension pedal harp.

You can do the following exercise with real water-bottles, but it’s even more effective if you just imagine the bottles, and let the learning go direct into your subconscious.

1. Hold you hands out, palm upwards, and imagine that you are holding two large, 1-litre, plastic bottles, full of water. As the bottles lie horizontally in your hands, wrap your fingers gently around the bottles. Feel the cool touch of the plastic… are there drops of water on it? Use just enough strength to support the bottles.
2. Now pour out half of the water, and then hold the bottles again. Notice how much less effort is needed, now.
3. Now pour out the rest of the water, and hold just the empty bottles. Notice how your hands feel, now.
4. Turn your right hand so that the thumb is uppermost. Let your index finger wrap inwards a little more, and your little finger ease outwards a bit. Bring the middle and ring fingers close to each other.
Your hand will look like this:

Default hand position from Burnett: The Art of Gesture
This position, with the fingers delicately curved, is the typical shape of a renaissance/baroque hand, that you will see in thousands of period paintings.

The historical ideal of graceful posture was to have just enough strength in the hand to maintain an elegantly curved shape, but no excess tension. That’s an ideal starting point for historical harp-playing, too.

Holding you hands out again, palm-up as before, bring your thumb into the palm, aiming towards the base of the little finger. (It varies from person to person how far the thumb wants to go. Just move it as much as is easy and comfortable for you). Then wrap your fingers around your thumb.
This is a basic human movement that we learn as tiny babies. Don’t think of it as a sophisticated “harp technique”, just keep the movement as easy and smooth as possible.

As the last stage of this preparatory exercise, try bringing your thumb into your palm, and then wrapping the fingers around it, one by one: index, middle, ring, little. Gently, smoothly. Imagine your hands are moving through honey, not air, so that the movement is slow and sweet, like a slow-motion film.
1… 2… 3… 4… 5
Keep it simple!
2.3 Hands on harp
Place your hands on the harp, with the weight taken on the soundboard. Hold your fingers in a relaxed curve. As you move your fingers, let your hand remain still.
Place your hands on the harp, close to (but not touching) the strings. Repeat the wrap-around exercise.
This is especially valuable for modern harpists. Your long experience with the modern instrument has taught your hands an automatic response to being placed on a harp, i.e. to use your modern technique. So you have to give yourself time to learn another, different technique. At first, away from the harp; then on the harp, but not yet on the strings.
When you are comfortable with the wrap-around exercise, not touching the strings, take a short break. During a break like this, the learning you have done consciously is transferred to your unconscious mind.

Now place your hands on the harp again, with your thumb and fingers on adjacent strings. Push gently on the strings, feel the contact. Rest your hand firmly on the soundboard, really take some weight down into the harp.
Now do the wrap-around exercise again, and let some sounds emerge from the strings. Move your fingers slowly. Focus on the smooth, easy movement, not on the resulting sound.
Most likely, the sound will be pleasant, but rather soft. To get more sound, apply more pressure on the strings, but keep the finger-movement slow.
To improve your sound, apply even more pressure, but keep the finger-movement slow. Let your fingers move through the complete range of movement, slowly. Don’t explode off the string: let your finger (or thumb) move slowly and smoothly.
More pressure. And slower.
2.4 On the strings
It’s important to position your fingers accurately on the strings. The position is different from that for modern harp.
Place your fingers on the strings, not behind the strings. Your fingers are on the strings, and as you play, they slide across the strings. They slide slowly, with smooth pressure. The secret is to find this controlled sliding, like a violin bow sliding across the strings with enough pressure to make a sound, and with slow speed to sustain the sound.
Your fingers are on the strings applying pressure, not behind the strings and pulling. Here is an easy test for the correct finger-position:
1. Place your fingers on the strings in your best historical-harp position.
2. Push on the strings. Push firmly, and observe what happens.
If your fingers are correctly placed on the strings, you will be able to push the entire harp sideways.
If your fingers are behind the strings, when you push strongly, your fingers will slip between the strings. Whoops! Use this feedback to adjust your finger-position, and try again.
To begin with, you will need to remind yourself frequently of the basics:
- Rest your hands on the harp.
- Keep your hands still whilst your fingers move.
- Fingers on the strings, not behind.
- Slow, and with pressure.
Where does all this come from? It’s a mixture of historical information, information from historical keyboard & lute-playing (many ideas from Pat O’ Brien), and my personal experience. Period paintings and study of historical gesture shows us basic positions; lute-playing shows how to be on the string (it’s the only way to play both strings of a double course simultaneously); period violin technique shows the importance of slow, smooth pressure; keyboard, harp and lute techniques show us how to relate finger-movements to the period principle of Good and Bad notes.
2.5 Fingering
Now that you can move the fingers well, which finger should you use for which note? Period fingering systems copy the patterns of speech, so that you can play your Italian harp with an Italian accent.
Around the year 1600, Italian texts have mostly two- or three-syllable words, with a characteristic pattern of accented/unaccented syllables. The historical terms for these syllables are Good and Bad (or sometimes, Long and Short). When composers set such texts, they put a Good note on each Good syllable.

[You can read more about historical articulation, The Good, the Bad & the Early Music Phrase here.]
For Italian harp, thumb and middle finger are good. Index finger is bad. Patterns of two or three fingers are usually sufficient for melodies, corresponding to the two or three syllables of the most frequently encountered words.
Period melodies often move stepwise (a jump might indicate the separation between one phrase and the next). So it’s useful to practise the basic fingering for scales:
Upwards: 3 2 3 2 3 2 3 2 ….. and 1 at the top.
Downwards: 1 2 1 2 1 2 ….. and 3 at the bottom. Pass the thumb underneath the fingers.
A good exercise is to play a scale up and down across and octave and one note. Listen for the characteristic sound of Good & Bad notes, like Frank Sinatra’s dooby-dooby-doo.
Helpful Hints:
On the upward scale, place two fingers (3 & 2), play two notes (with your hand still), now slide your hand, and only then replace your fingers on the next two strings. Don’t let your fingers “look for the strings”. Rather, let your hand slide up the harp just the correct distance, so that when you put your fingers onto the strings again, they are in exactly the right place.
On the downward scale, let your thumb move directly from playing one string to resting on its next string (i.e. thumb jumps down a third). The index plays after your thumb has already crossed underneath. This disadvantages the index finger, helping to produce the Bad effect that we want. To keep your hand in contact with the soundboard, you need to slide your index finger down the string (towards the soundboard) as you go along.
When you come to a chromatic note, you might need to adjust the fingering. Often 2, or thumb, will be needed, regardless of the good/bad rule. Get back to good/bad as soon as you can.
E.g. D major ascending: 32 2(f#)2 32 2(c#)2
Period Principles
The principles of historic fingering are very simple.
- Put a Good finger on a Good note, a Bad finger on a Bad note. (If you are not sure about the notes, sing the melody Frank Sinatra-style, to dooby-dooby-doo. The doo is Good, the by is Bad. If you are still uncertain, try to reverse the Sinatra syllables: you’ll quickly convince yourself which way round is best.)
- Obey this principle, even when it makes the fingering complicated or awkward. Difficult fingering is better than bad phrasing!
- If you have a piece of stepwise movement, go up with 3 2 and down with 1 2.
- When choosing between 1 or 3, put any movement of the hand where you logically want a jump or break in the music. Fingering and phrasing are totally united.
Chromatic notes
To reach a chromatic note in the inner row with the thumb, push the lower adjacent diatonic note aside and lean your thumb on this string whilst you play the chromatic. The thumb ends up hooked around this diatonic string.
E.g. to play F# with the thumb, push aside and lean on the F-natural, play F#, end up hooked around F-natural.
To reach a chromatic note in the inner row with a finger, push the upper adjacent diatonic note aside and lean your finger on this string whilst you play the chromatic. The finger ends up hooked around this diatonic string.
E.g. to play F# with a finger, push aside and lean on the G, play F#, end up hooked around G.
You cannot lift your hands up and away from the harp at the end of the note: your thumb or finger is still hooked around a string! This necessity confirms the ‘hands on the harp’ position we notice in period paintings, and which we studied earlier.
The secret to playing the chromatic notes confidently, accurately, without extraneous noises, and with a good sound, is that you leave the finger or thumb hooked into the middle row, after sounding the string.
And of course, Slow. With smooth Pressure. And your hands stay still, resting on the harp.
It’s a useful exercise to practise scales in difficult keys, and also chromatic scales.
Chords
It is difficult at first to coordinate the finger-movements when some notes of the chord are chromatic, others diatonic. Practise each note in turn to perfect the movement, before trying to synchronise the whole chord.
Try all the major and minor triads, in both friendly and un-friendly tonalities!
See the video on basic technique – fingering, chromatics, chords – here.

For a normal “good-note” chord, arpeggiate in both hands approximately simultaneously. Play “bad-note” chords unarpeggiated.
For a long arpeggio, play a low-octave bass note alone, then arpeggiate left hand then right. Play the bass-note on the beat (not before).
Continuo-playing requires sophisticated use of chord and arpeggios – this is just a beginning.
Harmonies
The first step is to learn good positions for the basic major and minor chords. Here are some guide-lines:
- Third at the top, and/or doubled sounds good
- Compact position (hands not separated, perhaps even overlapping) is good
- Treat “tuning-A” as the upper limit for chords
- Don’t use thirds in the bass below tenor-C, they are too ‘growly’
- Try for big chords, at least 3 or 4 notes in each hand.

More about Continuo in a later posting, and forthcoming video series.
Tuning
Two tunings were in general use in the 17th-century: with Bb in the diatonic row [historically more common] and with B-natural [my own usual tuning]. Scordatura was frequently used.
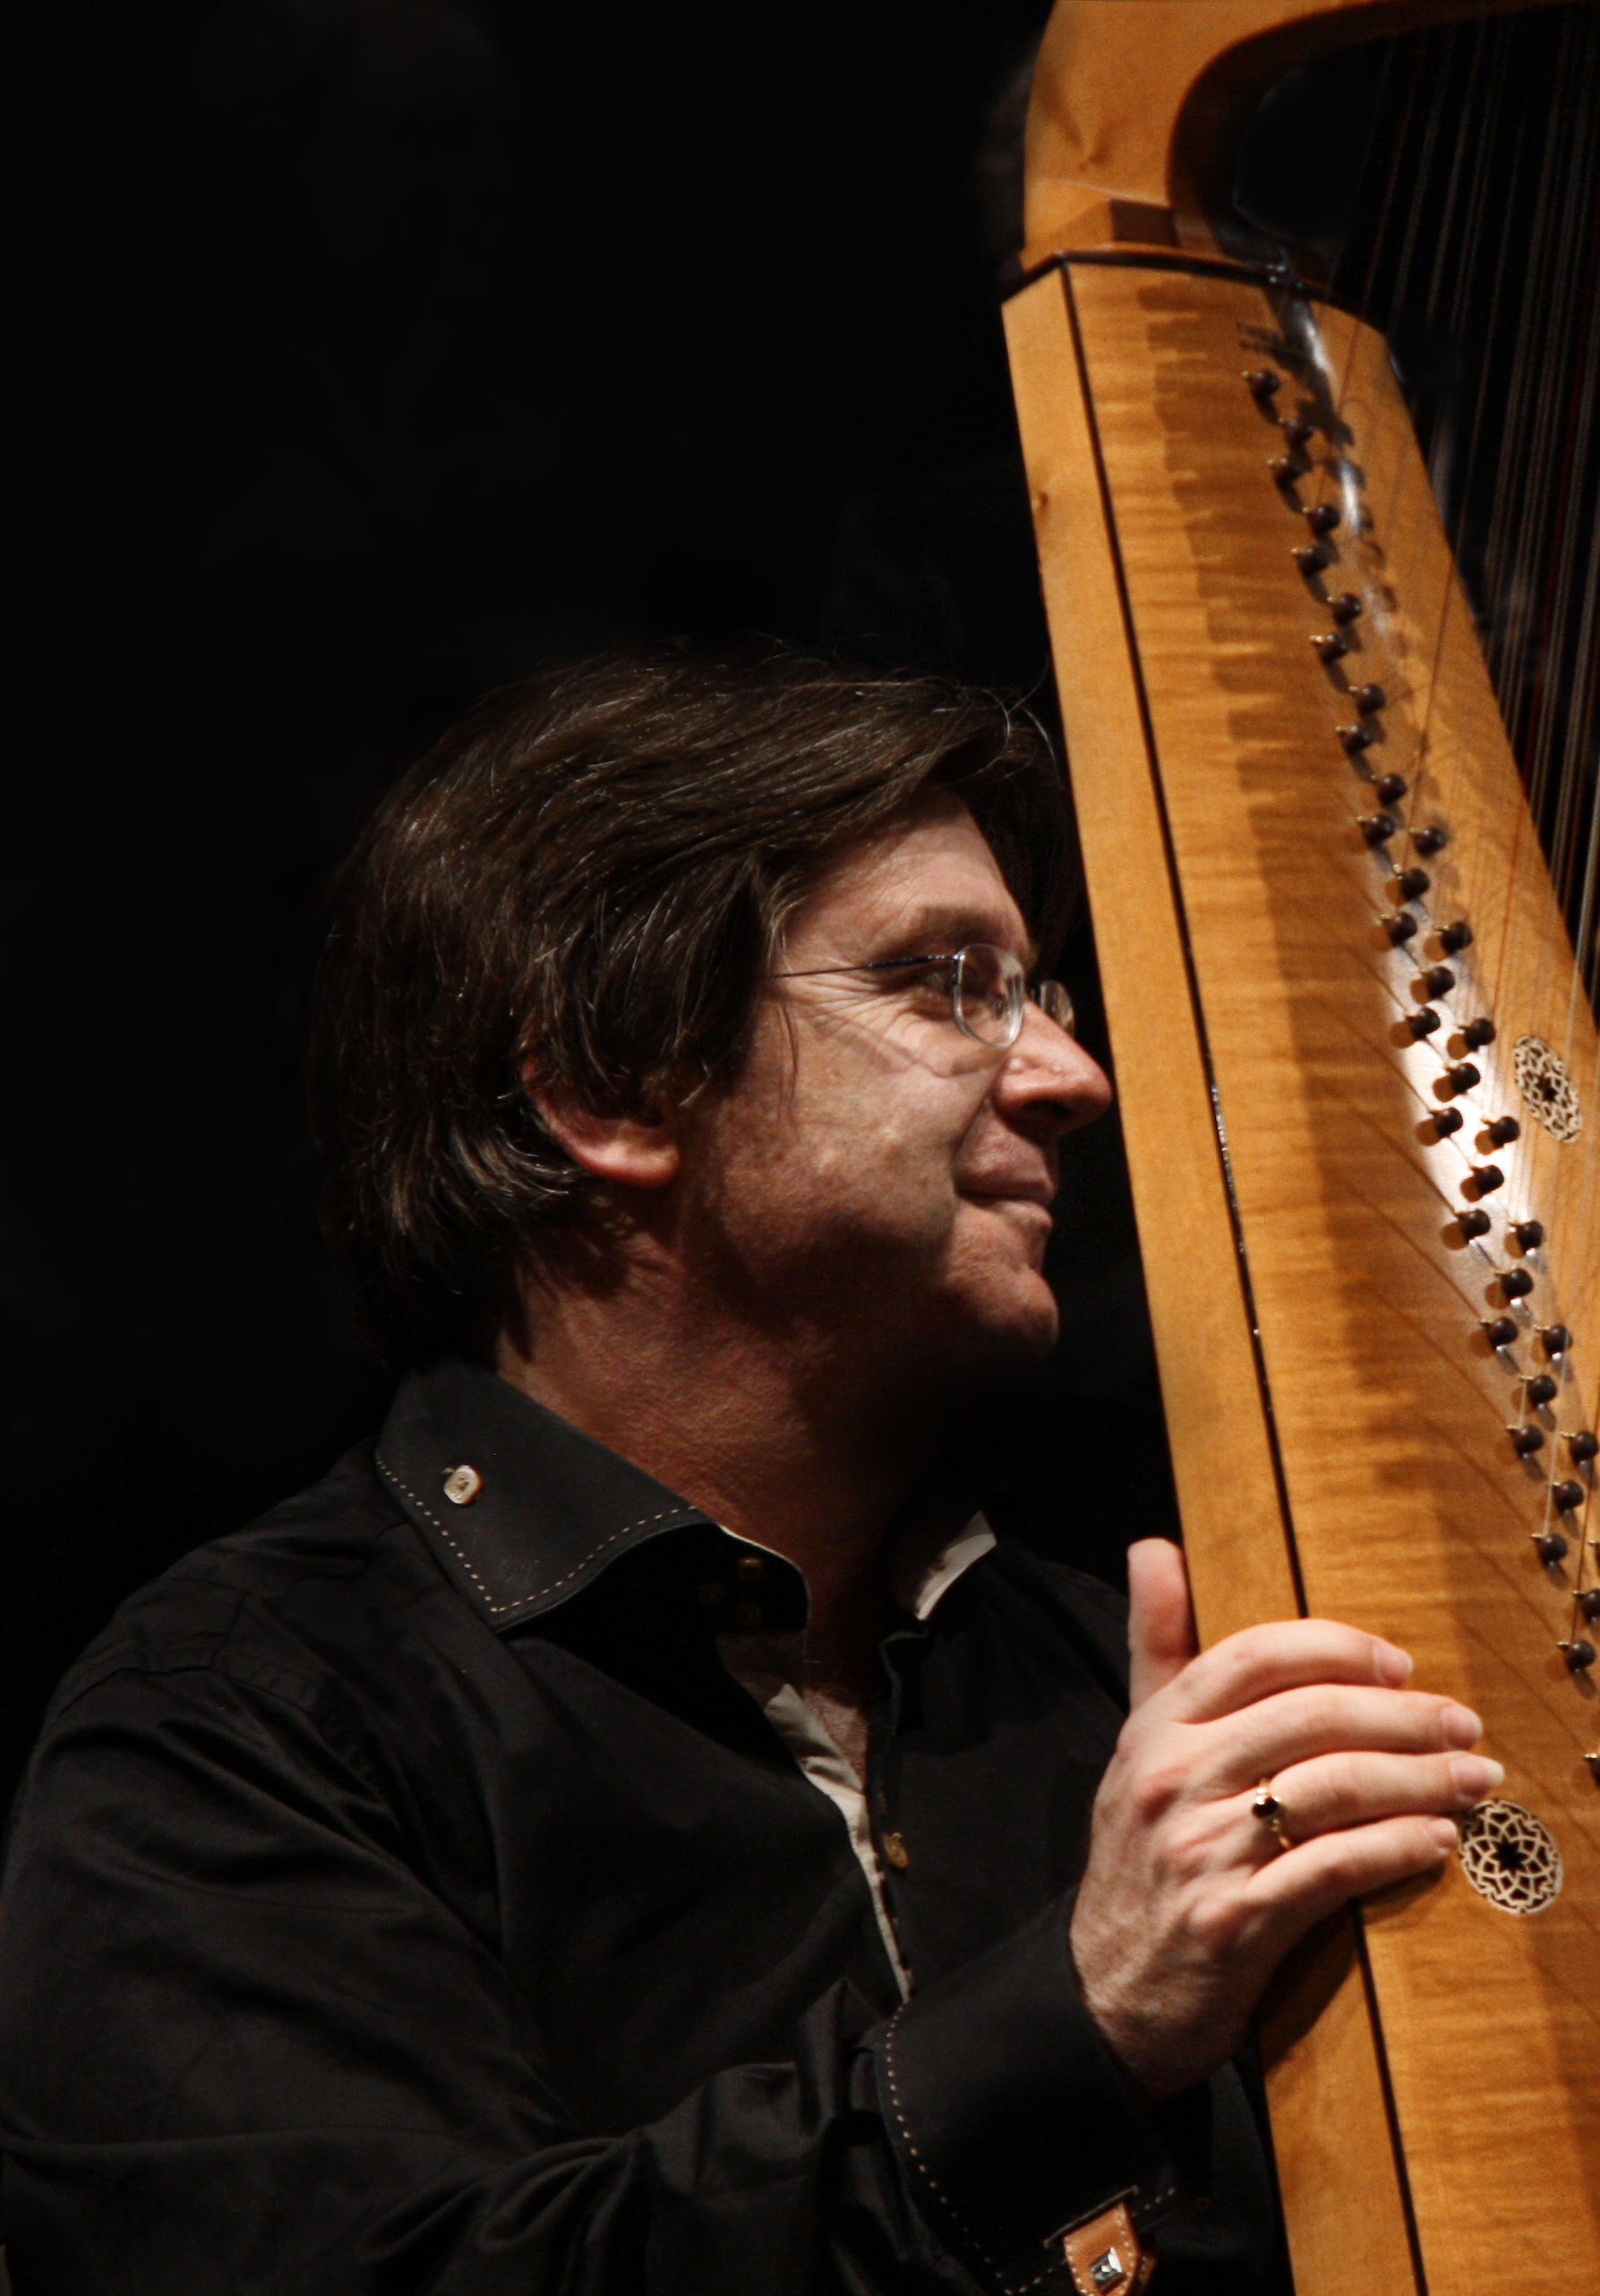
ALK with Rainer Thurau’s “Zampieri” Italian baroque harp
On my harp, the ‘extra black notes’ between E & F and between B & C are used for enharmonics. This is typical of 17th-century practice: in the 16th century, these strings were tuned to important notes like D and A, for additional resonance.
The standard tuning of my harp is (from the bass upwards):
Left hand row:
FFF GGG AAA BBBb CC DD EE FF GG AA BB etc to g’
Middle row:
CC# EEb DD# FF# GG# BBb AA# C# Eb D# F# G# Bb A# c# etc to c”#
Right hand row:
FF GG AA BB C D E F G A B c d e f g a etc to c” d” eb”
I keep my harp in quarter-comma meantone (details in another posting)

Pat O’Brien, ALK & other founder-members of The Harp Consort, at the recording sessions of Luz y Norte in 1994.
Please join me on Facebook https://www.facebook.com/andrew.lawrenceking.9 and visit our website www.TheHarpConsort.com .
Opera, orchestra, vocal & ensemble director and early harpist, Andrew Lawrence-King is director of The Harp Consort and of Il Corago, and Senior Visiting Research Fellow at the Australian Research Council Centre for the History of Emotions.
